 Save to Pinterest
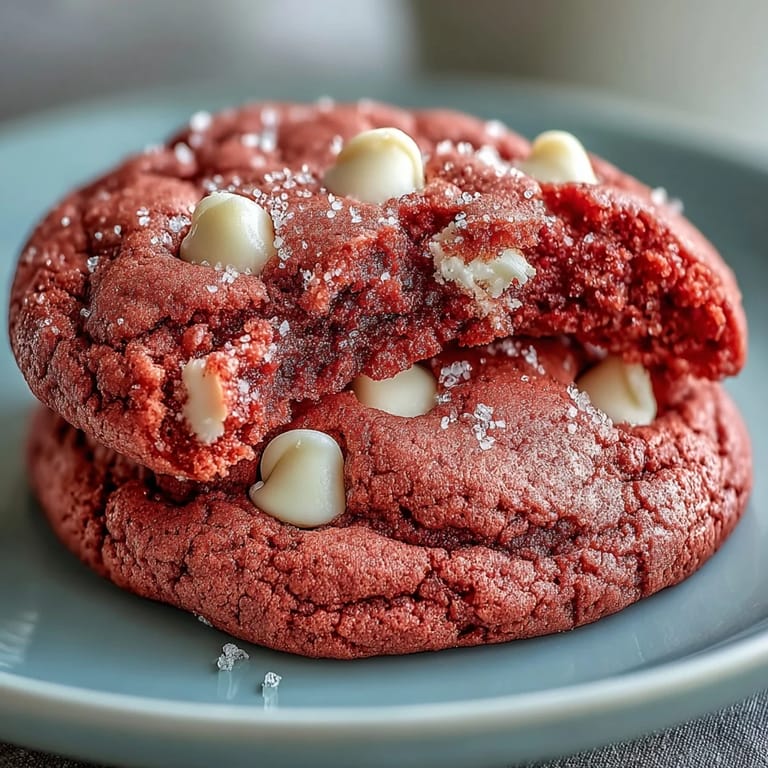
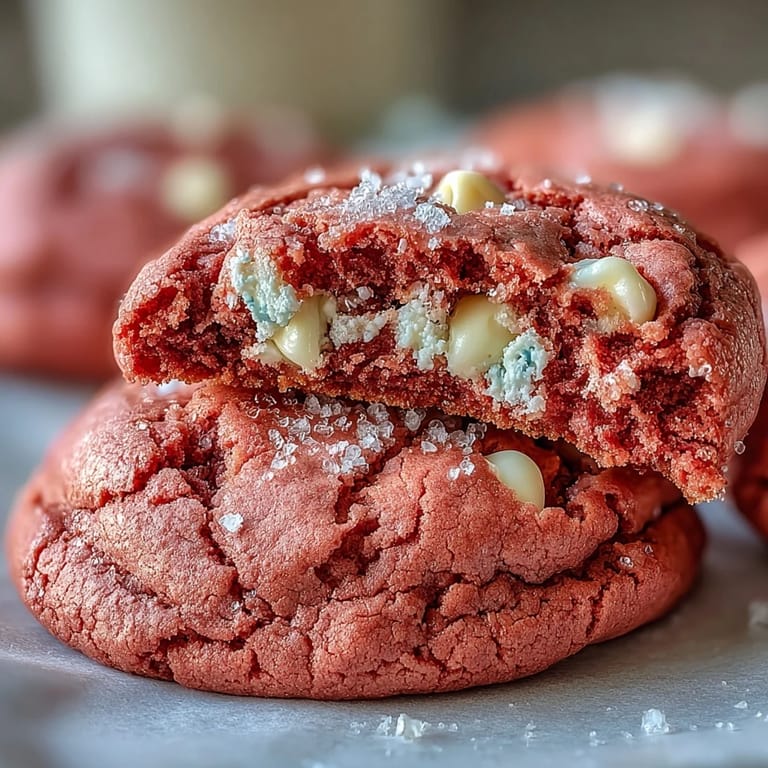
 My neighbor slid a pink cookie across the fence one Saturday morning, and I bit into something that tasted like nostalgia dipped in white chocolate. She wouldn't give me the recipe until I promised to bake them for her book club. That afternoon, I stood in my kitchen with gel food coloring on my fingers and butter creaming in the mixer, realizing these cookies were about to become my signature move. The dough came together fast, chilled even faster, and when they baked, my kitchen smelled like a bakery run by someone who believes in joy over perfection.
I baked these for a baby shower once, and the mom-to-be cried happy tears because they matched her theme perfectly. But honestly, I think she cried because they tasted like the cookies her grandmother used to make, just with a brighter attitude. Everyone took extras home in napkins, and I got three texts that night asking for the recipe.
Ingredients
- All-purpose flour: The backbone of these cookies, giving them structure without making them stiff or cakey.
- Baking powder and baking soda: This combo creates the perfect chew with just a little lift, not too puffy, not too flat.
- Salt: A small amount that makes the sweetness pop and keeps the flavor from feeling one-dimensional.
- Unsalted butter: Softened to room temperature so it creams beautifully and gives you control over the saltiness.
- Granulated sugar: Creams with the butter to trap air, which makes the cookies tender and light.
- Egg: Binds everything together and adds moisture without making the dough wet.
- Vanilla extract: Adds warmth and depth, the kind of flavor you taste in the second bite.
- Pink gel food coloring: The star of the show, a little goes a long way, and gel won't water down your dough.
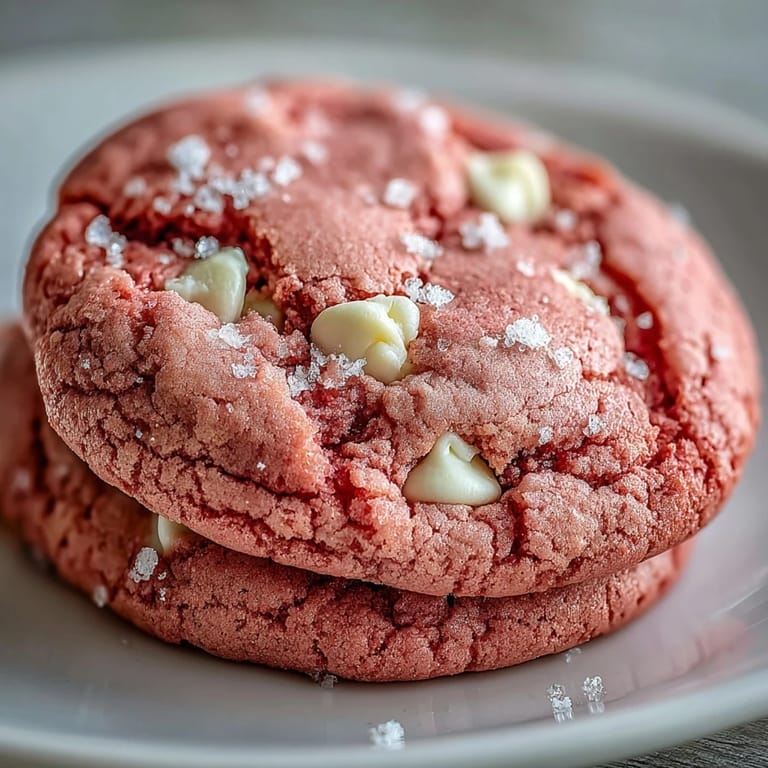
- White chocolate chips: They melt into creamy pockets and contrast beautifully with the pink dough.
Tired of Takeout? 🥡
Get 10 meals you can make faster than delivery arrives. Seriously.
One email. No spam. Unsubscribe anytime.
Instructions
- Mix the dry base:
- Whisk the flour, baking powder, baking soda, and salt in a medium bowl until evenly combined. This step prevents clumps and distributes the leavening so every cookie bakes evenly.
- Cream butter and sugar:
- Beat the softened butter and sugar together for 2 to 3 minutes until the mixture looks pale and fluffy. This is where you build the texture, so don't rush it.
- Add egg and color:
- Beat in the egg and vanilla until smooth, then add the pink gel food coloring and mix until the dough is evenly tinted. The color will look brighter now than after baking, so adjust to your preference.
- Combine wet and dry:
- Gradually add the flour mixture to the butter mixture on low speed, mixing just until the dough comes together. Overmixing makes cookies tough, so stop as soon as you don't see streaks of flour.
- Fold in chocolate chips:
- Use a spatula to gently fold in the white chocolate chips, making sure they're evenly distributed without overworking the dough.
- Chill the dough:
- Cover the bowl with plastic wrap and refrigerate for 30 minutes. This firms up the butter so the cookies hold their shape and don't spread too thin.
- Preheat and prep:
- Heat your oven to 350°F and line two baking sheets with parchment paper. This prevents sticking and makes cleanup easier.
- Shape the cookies:
- Scoop tablespoon-sized balls of dough and place them 2 inches apart on the prepared sheets. They'll spread a little, so give them room.
- Bake until set:
- Bake for 10 to 12 minutes, until the edges are set but the centers still look soft. They'll seem underbaked, but trust the process, they firm up as they cool.
- Cool properly:
- Let the cookies cool on the baking sheets for 5 minutes to set, then transfer them to a wire rack. Moving them too soon can make them fall apart.
 Save to Pinterest
 One Valentine's Day, I made a triple batch and packed them in little boxes tied with ribbon. My coworkers ate them at their desks, and for the rest of the week, people kept asking if I'd opened a side business. I didn't, but I did start keeping a batch of dough in the freezer for emergencies.
How to Store and Enjoy
These cookies stay soft in an airtight container for up to a week, though mine rarely last that long. If you want to freeze the dough, scoop it into balls, freeze them on a tray, then transfer to a freezer bag. Bake straight from frozen, adding an extra minute or two to the bake time.
Flavor Twists Worth Trying
I've added almond extract for a subtle floral note, and once I stirred in a few drops of rose water, which made them taste like something from a fancy bakery. You can also press extra white chocolate chips on top before baking for a prettier finish. If you want to go wild, sandwich two cookies with cream cheese frosting and watch people lose their minds.
What to Watch For
The dough should be soft but not sticky after chilling. If it's too sticky, add a tablespoon of flour at a time until it's scoopable. Don't overbake these, they should look barely set when you pull them out, with soft centers that firm up as they cool.
- Use room temperature butter, not melted, or your cookies will spread too much.
- Measure flour by spooning it into the cup and leveling it off, not scooping directly from the bag.
- Let the baking sheets cool between batches so the dough doesn't start melting before it hits the oven.
 Save to Pinterest
 These cookies have become my go-to whenever I need to show up with something that looks impressive but doesn't stress me out. They taste like happiness, and honestly, that's enough.
Recipe FAQs
- → What makes these cookies pink?
Pink gel food coloring creates the vibrant hue. Start with 2 teaspoons and adjust to achieve your desired shade. Gel coloring provides more intense color than liquid without thinning the dough.
- → Why chill the dough before baking?
Chilling for 30 minutes prevents excessive spreading in the oven, ensuring thick, soft cookies with chewy centers. The cold dough also helps maintain the vibrant pink color during baking.
- → Can I use liquid food coloring instead?
Liquid coloring works but may require more product to achieve the same intensity. This extra liquid can slightly affect dough consistency. Gel coloring is recommended for best results.
- → How do I know when the cookies are done?
Bake until edges are set but centers still appear slightly underbaked. They'll firm up as they cool on the sheet for 5 minutes. Overbaking results in crisp cookies rather than soft, chewy ones.
- → What variations can I try?
Add almond extract for nutty depth, create cookie sandwiches with cream cheese filling, or substitute dark chocolate chips for contrast. A 1:1 gluten-free flour blend works for dietary needs.
- → How should I store these cookies?
Keep in an airtight container at room temperature for up to one week. Place parchment paper between layers to prevent sticking. The texture remains soft and chewy throughout storage.