 Save to Pinterest
 The first time I made msemen, I was standing in my Moroccan neighbor's kitchen at dawn, watching her hands work the dough with such ease that it seemed like meditation. She didn't measure anything, just knew by feel when the semolina layers were thin enough, when the butter was melted just right. Years later, I finally understood what she was teaching me—that this pastry isn't about precision, it's about patience and the quiet rhythm of folding, brushing, and folding again. Now when I make it, I can almost hear her humming as the oil sizzles.
I brought a stack of these to a friend's tea party once, and I remember her teenage daughter's face when she bit into one—pure surprise at how something so delicate could be so satisfying. That's when I realized msemen isn't just breakfast; it's the kind of thing that makes people slow down and actually taste what they're eating.
Ingredients
- All-purpose flour (2 cups / 250 g): The structure of the pastry, but semolina does most of the flavor work here.
- Fine semolina (1 cup / 120 g): This is what creates those layers and gives msemen its signature sandy texture; don't skip it or substitute with cornstarch.
- Sugar and salt (1 tsp each): Just enough to balance the richness without announcing themselves.
- Warm water (1 1/4 cups / 300 ml): The key is warm, not hot—around body temperature, because it helps the dough relax and accept all that folding without tearing.
- Instant yeast (1 tsp, optional): Use it if you want an airier, lighter crumb, skip it for a denser, more traditional chew.
- Vegetable oil (1/2 cup / 120 ml plus extra): The workhorse for greasing and frying; melts into the folds beautifully.
- Unsalted butter, melted (1/4 cup / 60 g): What makes each layer taste like something worth repeating; use real butter, not margarine.
- Fine semolina for layering (1/4 cup / 30 g): This sprinkle between folds prevents sticking and adds that subtle crunch.
- Warmed honey (for serving): Never cold honey, because warmth makes it flow and soak in, becoming part of the experience rather than just a topping.
Tired of Takeout? 🥡
Get 10 meals you can make faster than delivery arrives. Seriously.
One email. No spam. Unsubscribe anytime.
Instructions
- Mix and rest the foundation:
- Combine your dry ingredients in a large bowl, then slowly pour in the warm water while mixing, working it until you have a soft, slightly sticky dough. Knead for a good 10 minutes—your arms will feel it, and that's when you know the gluten is developing enough to hold all those layers later. Let it rest under a damp cloth for 15 minutes while you gather your other supplies and breathe.
- Portion with care:
- Divide the dough into 8 equal pieces and roll each into a ball; oil your hands and the work surface generously so nothing tears. The oil is your friend here, not an enemy.
- Stretch into translucence:
- Take one ball and, using only your oiled hands, gently stretch it outward in all directions until it's thin enough that you can almost see light through it. This takes maybe 2 minutes of patient, circular motions—rush it and the dough fights back.
- Build the layers:
- Brush the thin circle with melted butter, sprinkle with semolina, then fold one edge toward the center and brush that fold, sprinkle again, then fold the next edge over it, creating a square. The repetition is meditative, and the semolina prevents the buttered layers from sealing shut.
- Rest before the final push:
- Let your folded squares sit for 5 minutes; they'll relax and accept the coming pan-fry without complaining.
- Pan-fry to golden perfection:
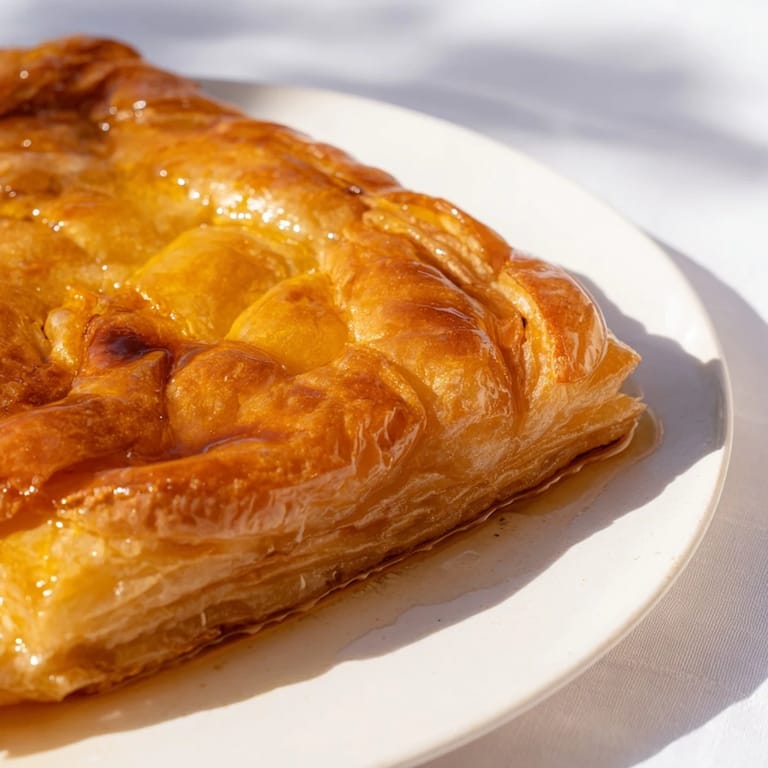
- Heat a non-stick skillet over medium heat with a light brush of oil, then gently flatten each square to about 1/4-inch thick with your palm. Fry for 2 to 3 minutes per side, watching for that golden-brown cratering that signals crispness and flakiness have arrived together.
- Serve warm and dripping:
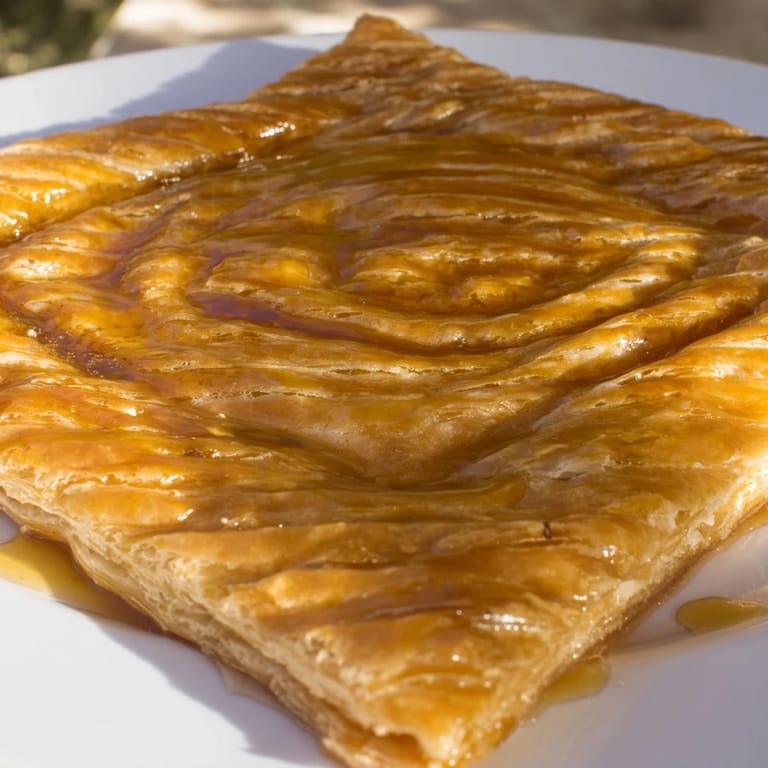
- Transfer each finished pastry to a plate while it's still warm, and pour the honey generously over top so it soaks into the cracks and crevices.
 Save to Pinterest
 There was an afternoon when my daughter asked what made this pastry taste like happiness, and I realized she was tasting something deeper than butter and semolina—she was tasting the care that goes into making something by hand. That's when msemen shifted from being a recipe I learned to something I was actually teaching.
The Secret of Thin Stretching
The hardest part of msemen is resisting the urge to roll the dough with a pin; your hands are more sensitive and stronger than any tool. When you stretch by hand, you feel exactly where the dough wants to give, where it needs support, and you stop just before the point of tearing. There's a moment, right before the dough becomes translucent, where it feels alive under your palms—that's when you know you're doing it right. The semolina dust on your hands keeps everything from sticking while you work, so don't be shy with it.
Variations That Still Feel Authentic
The classic version with just honey is perfect, but I've learned that this pastry welcomes a few gentle additions. A whisper of cinnamon or a drop of orange blossom water in the dough creates a subtle fragrance that reminds you this came from a place where spices and flowers matter. Some mornings I serve it alongside amlou, that almond-honey paste that feels like eating ancient Morocco, and other times jam is all it needs. The point is, msemen is flexible enough to adapt to what you love without losing its soul.
Storage and Reheating
Leftover msemen can live in an airtight container for a few days, though honestly, these rarely last that long in my house. When you do have leftovers, don't microwave them into cardboard—instead, gently warm them in a skillet over low heat with just a brush of oil, and they'll remember their crispness and come back to life.
- Room temperature msemen is still good, but warm msemen dipped in honey is transcendent.
- If you're making these ahead, you can fold and rest them, then fry them just before serving for maximum drama.
- Freezing uncooked folded squares works surprisingly well; fry them straight from frozen, adding an extra minute per side.
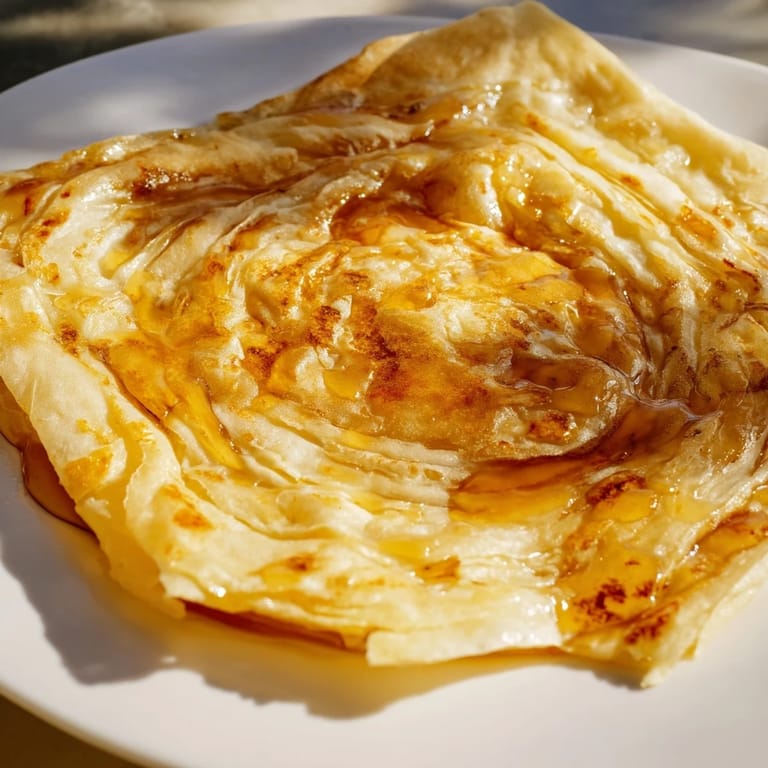 Save to Pinterest
 Making msemen is a small act of devotion that takes barely an hour and gives back so much more. Every time someone closes their eyes after the first bite, I remember why this recipe mattered enough to learn.
Recipe FAQs
- → What makes Msemen flaky and layered?
The dough is folded multiple times with melted butter and sprinkled with semolina between layers, creating its signature flaky texture when pan-fried.
- → Can I add flavor variations to the dough?
Yes, adding a pinch of cinnamon or orange blossom water to the dough enhances the aroma and adds subtle flavor notes.
- → What oils are best for frying Msemen?
Vegetable oil is preferred for frying due to its neutral flavor and high smoke point, ensuring a golden crisp exterior.
- → How should Msemen be served for optimal taste?
Serve warm, drizzled with honey or alongside almond-honey amlou spread to complement its crisp layers.
- → Is instant yeast necessary for the dough?
Instant yeast is optional; it can lighten the texture but traditional Msemen can be made without it for a denser bite.