 Save to Pinterest
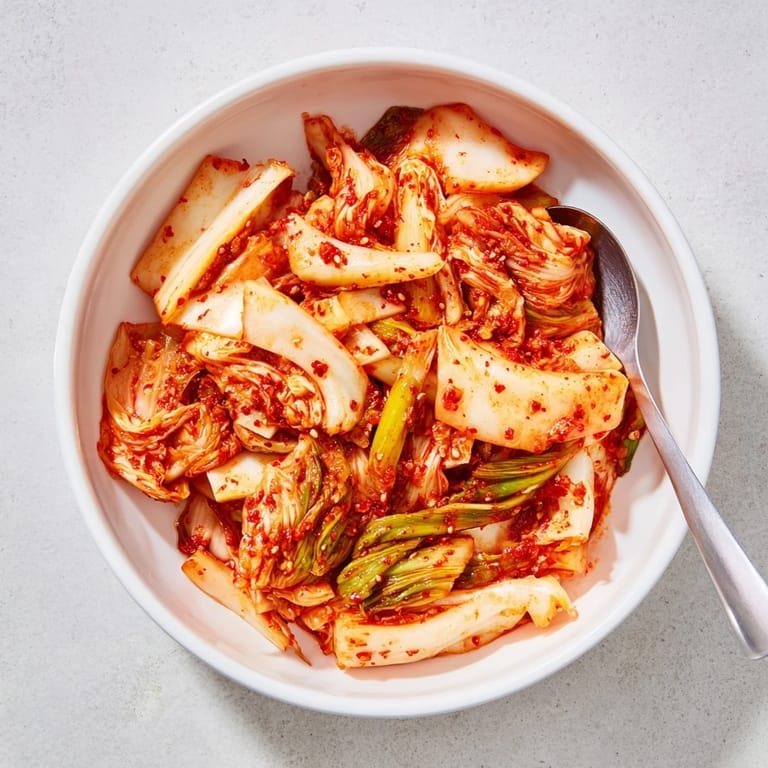
 My tiny apartment kitchen filled with the sharp, garlicky scent of fermentation for the first time when my Korean neighbor showed me her grandmother's technique. She insisted on weighing everything precisely, but laughed when I asked for exact measurements on the chili flakes. "Trust your nose," she said, handing me a jar that would change how I thought about preserving vegetables forever.
Last winter, I made a triple batch during a snowstorm when my refrigerator was already overflowing. The jars sat on my counter, bubbling away, while I worried I had committed to making enough kimchi to feed the entire neighborhood. Three weeks later, I was giving jars to everyone who crossed my doorstep, delighted by how something so simple could bring so much joy.
Ingredients
- 1 large napa cabbage: The foundation of everything, so choose heads with tight, crisp leaves and no wilting
- 80 g coarse sea salt: Do not use table salt as the iodine can interfere with fermentation
- 1 medium daikon radish: Adds essential crunch and sweetness that balances the heat
- 4 scallions: Their mild onion flavor develops beautifully during fermentation
- 6 cloves garlic: Fresh garlic makes all the difference here, do not substitute powder
- 3 tbsp Korean red chili flakes: Gochugaru has a unique flavor profile that regular chili flakes cannot match
- 2 tbsp rice flour: Creates the traditional paste texture that helps the seasonings cling to every leaf
Tired of Takeout? 🥡
Get 10 meals you can make faster than delivery arrives. Seriously.
One email. No spam. Unsubscribe anytime.
Instructions
- Prepare the cabbage:
- Cut the napa cabbage lengthwise into quarters, then chop into 2-inch pieces that are easy to handle during salting and seasoning
- Salt and soak:
- Dissolve sea salt in 1.5 liters cold water in a large bowl, submerge the cabbage completely, and weight it down to keep it under the brine for 2 hours
- Rinse thoroughly:
- Wash the salted cabbage under cold water 2 to 3 times until the water runs clear, then drain it very well
- Make the rice paste:
- Whisk rice flour with 150 ml water in a small saucepan over medium heat until it thickens into a smooth porridge, then let it cool completely
- Blend the seasonings:
- Puree the cooled rice paste with garlic, ginger, onion, fish sauce or soy sauce, and sugar until completely smooth
- Adjust the heat:
- Stir in gochugaru gradually, starting with 3 tablespoons and adding more until you reach your preferred spice level
- Combine everything:
- Mix the drained cabbage with daikon radish, carrot, scallions, and the spice paste, using gloved hands to massage until every piece is coated
- Pack the jars:
- Press the kimchi firmly into clean glass jars, eliminating air pockets and leaving 1 inch of headspace at the top
- Start fermentation:
- Seal the jars and leave them at room temperature out of direct sunlight for 1 to 2 days, opening daily to release gas
- Refrigerate and enjoy:
- Once the kimchi tastes sour and tangy, move it to the refrigerator where it will continue developing flavor for weeks
 Save to Pinterest
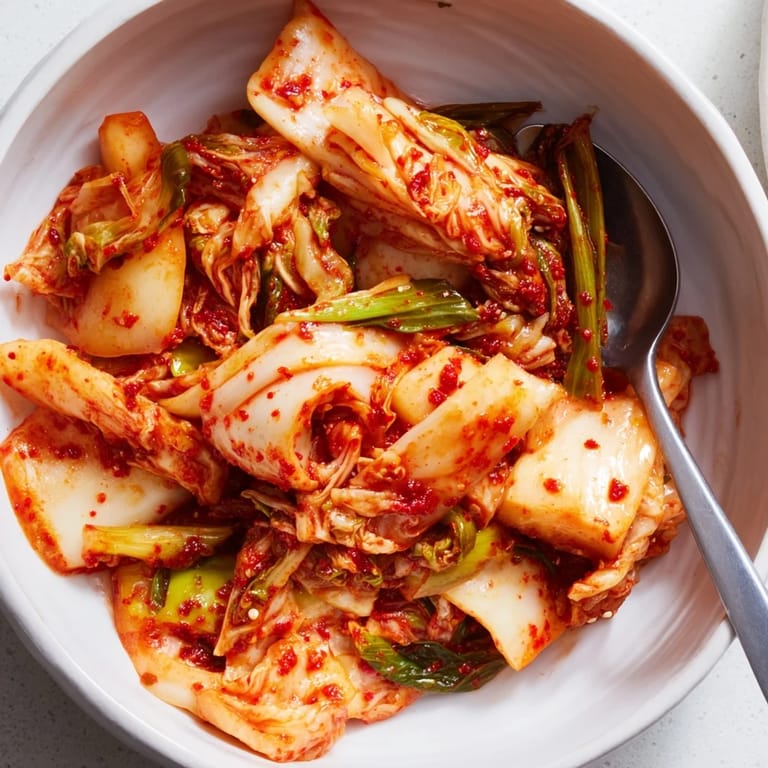
 My friend Sarah was skeptical when I handed her a jar of bubbling red cabbage. She took it home anyway, and three days later texted me at midnight saying she had eaten half the jar standing in her kitchen. Now she makes her own batch every month and claims it cured her winter colds.
Understanding Fermentation
Lactic acid bacteria are already present on cabbage leaves, and the salt creates an environment where they can thrive while harmful bacteria cannot. The transformation from raw vegetables to something complex and tangy never ceases to amaze me, no matter how many batches I make.
Serving Ideas Beyond the Side Dish
While kimchi is perfect alongside rice, try frying it with eggs for breakfast, adding to ramen bowls, or even topping a baked potato. The fermented flavor adds brightness to rich dishes and depth to simple ones.
Troubleshooting Your Ferment
If your kimchi smells off instead of tangy, something may have gone wrong with the salt ratio or cleanliness of your jars. White film on top is usually harmless kahm yeast, but fuzzy mold means you should start over.
- Taste your kimchi at different stages to learn how you prefer it
- Keep fermentation jars away from direct sunlight and heat sources
- Always use clean utensils when removing kimchi to avoid contamination
 Save to Pinterest
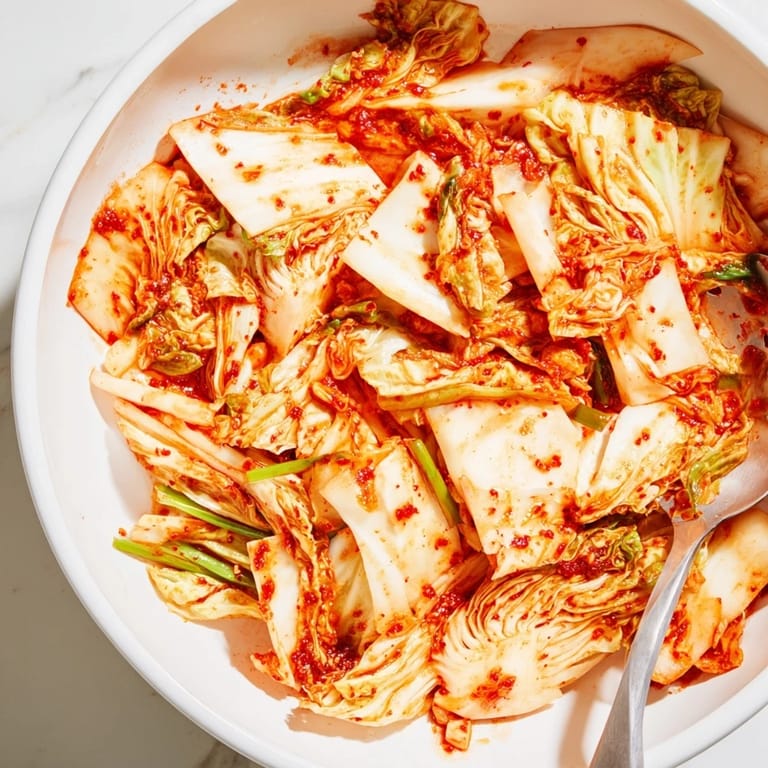
 There is something deeply satisfying about preserving food and watching it transform. Once you taste your first batch of homemade kimchi, you will understand why people have been making this for centuries.
Recipe FAQs
- → How long does kimchi fermentation take?
Fermentation requires 1-2 days at room temperature for initial sourness, though flavor develops deeper complexity over several weeks in cold storage.
- → Can I make kimchi vegan?
Replace fish sauce with soy sauce or vegan alternatives. The fermentation and umami remain excellent without animal products.
- → Why do I need to salt the cabbage first?
Salting draws moisture from cabbage leaves, creating the brine needed for fermentation while softening texture for better spice absorption.
- → What's the purpose of rice flour in the paste?
Rice flour thickens the spice mixture, helping it adhere evenly to vegetables while providing carbohydrates beneficial for fermentation bacteria.
- → How do I know when kimchi is ready to eat?
Taste after 48 hours. When sourness balances heat and vegetables maintain pleasant crunch, transfer to cold storage to slow fermentation.