 Save to Pinterest
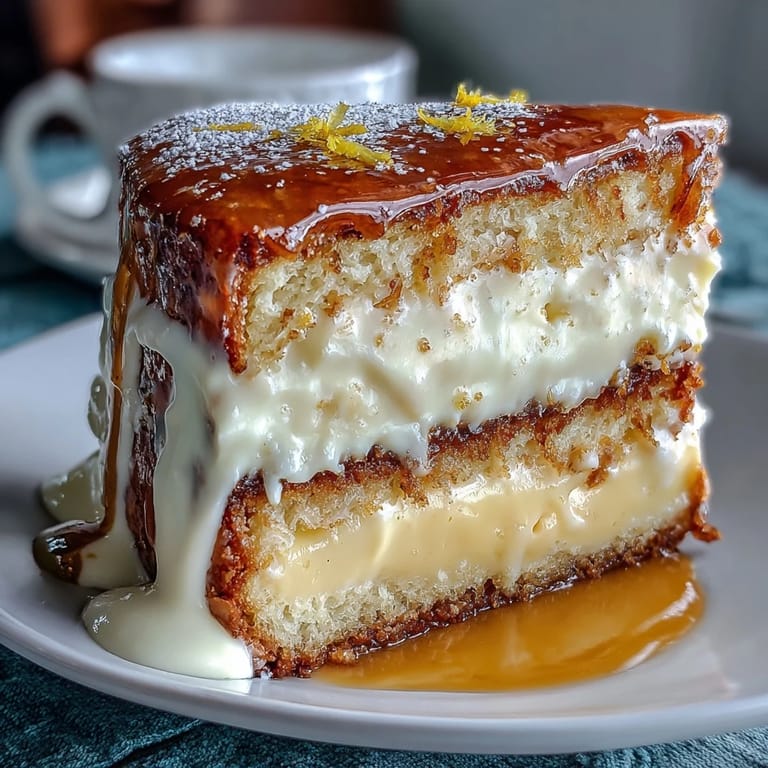
 There's a moment that happens every spring when someone asks me to bring dessert, and I immediately think of this lemon tart. It arrived in my kitchen almost by accident—a half-remembered recipe from a French bakery visit mixed with my grandmother's insistence that butter and restraint are the only two things that matter in pastry. The first time I pulled one from the oven, the kitchen filled with this sharp, buttery perfume that made everyone stop talking.
I made this for a dinner party on a Wednesday evening when everything felt slightly chaotic, and somehow this tart became the calm thing on the table. My friend Sarah watched me dust it with powdered sugar and said it looked like something from a magazine, which made me laugh because ten minutes earlier I'd nearly spilled the filling. That's when I realized this recipe works because it forgives small mistakes and rewards patience.
Ingredients
- All-purpose flour: The foundation needs to be good quality and shouldn't sit open in your pantry for months, as it'll lose its structure and affect your crust's texture.
- Unsalted butter, cold and cubed: This is non-negotiable—warm butter won't create those tiny pockets that make the crust shatter when you bite it, so really do chill it before you start.
- Powdered sugar: It dissolves into the dough almost invisibly, giving sweetness without the grittiness that granulated sugar would leave behind.
- Fine sea salt: Just a quarter teaspoon, but it's what makes your palate register the butter and lemon instead of just sweetness.
- Egg yolk: This binds everything together and adds a whisper of richness that all-water dough simply cannot match.
- Ice water: Keep it genuinely cold, as warm water activates gluten and toughens the crust, which is the opposite of what you want here.
- Eggs and egg yolks: The filling needs both for the right custard consistency—yolks alone would be too dense, whole eggs alone would be too loose.
- Granulated sugar: Two hundred grams is the sweet spot, enough to balance the lemon without making you squint when you taste it.
- Freshly squeezed lemon juice: Bottled juice tastes harsh and one-dimensional, while fresh juice has layers and a natural brightness that makes the whole thing sing.
- Lemon zest: The oils in the zest carry flavor that the juice alone cannot deliver, so don't skip this even if it seems fussy.
- Melted butter, cooled slightly: Slightly cooled means it won't scramble the eggs when you whisk it in, but it'll still incorporate smoothly without creating lumps.
Tired of Takeout? 🥡
Get 10 meals you can make faster than delivery arrives. Seriously.
One email. No spam. Unsubscribe anytime.
Instructions
- Get your oven ready and gather cold ingredients:
- Preheat to 350°F while you pull the butter from the fridge—you want everything as cold as possible when you start building the crust. This is the moment to read through the rest of the recipe so nothing catches you off guard later.
- Pulse together the dry crust ingredients:
- In a food processor, combine flour, powdered sugar, and salt, then pulse a few times until they're evenly mixed. This prevents any pockets of salt or sugar from concentrating in one spot.
- Work in the cold butter:
- Add your cold cubed butter and pulse until the mixture looks like coarse breadcrumbs with pea-sized pieces still visible. Stop before it becomes a smooth paste, or your crust will be tough instead of tender.
- Bring the dough together:
- Add the egg yolk and two tablespoons of ice water, then pulse just until the dough begins to clump together—it should still look shaggy, not a neat ball. If it's not coming together, add the extra tablespoon of water one teaspoon at a time.
- Rest and chill the dough:
- Turn it onto a lightly floured surface, press it into a disk, wrap it in plastic, and refrigerate for at least thirty minutes. This rest is when the gluten relaxes and the dough becomes easier to roll without shrinking.
- Line your tart pan:
- Roll the chilled dough to about an eighth of an inch thick, then carefully transfer it to your nine-inch tart pan. Press it gently into the corners, trim the overhang, and use the tines of a fork to prick the base all over, which prevents puffing during the blind bake.
- Blind bake the crust:
- Line the dough with parchment paper, fill with pie weights or dried beans, and bake for fifteen minutes until the edges are just beginning to turn golden. Remove the weights and parchment, then bake another ten minutes until the base is pale golden and feels set when you press it gently.
- Cool the crust slightly:
- Let it rest in the pan while you prepare the filling—the residual heat will help set the structure, but you want to pour in a warm filling, not a scorching one.
- Whisk together the filling:
- In a large bowl, combine eggs, egg yolks, granulated sugar, fresh lemon juice, lemon zest, cooled melted butter, and a pinch of salt, whisking until completely smooth. The mixture should look pale and homogeneous with no visible streaks of yolk.
- Pour and bake:
- Pour the filling into the warm crust and bake for twenty to twenty-five minutes, until the center is just barely set but still has the tiniest jiggle when you gently shake the pan. This is the moment that separates a custardy, silky filling from an overcooked rubber disc, so resist the urge to let it bake longer.
- Cool and chill thoroughly:
- Let the tart cool completely on a wire rack, then refrigerate for at least two hours, which allows the filling to firm up and the flavors to settle and deepen. Many people don't expect this step, but it's what makes the tart actually sliceable.
- Finish and serve:
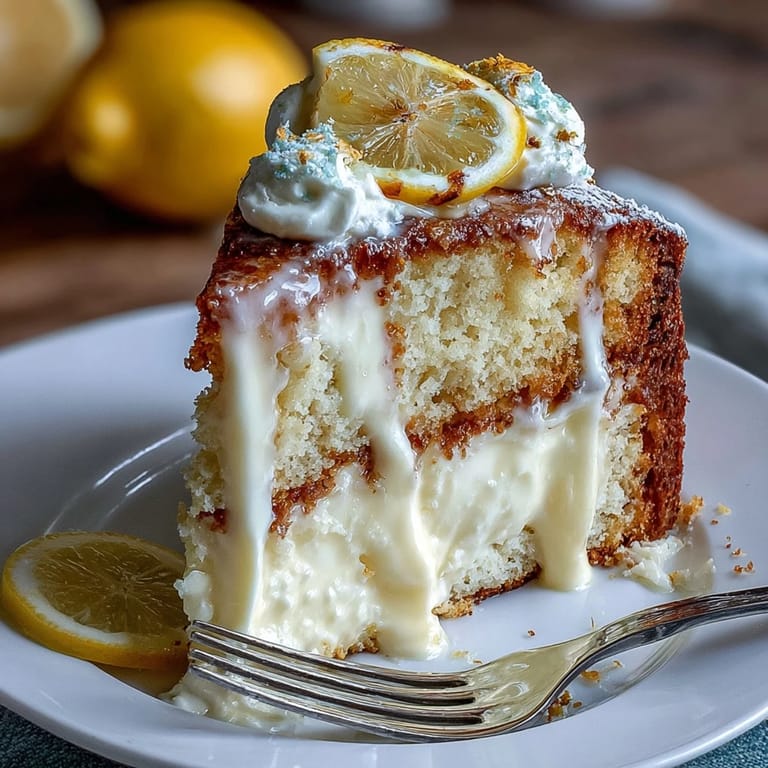
- Just before serving, dust with powdered sugar and add lemon slices, fresh berries, or mint if you'd like. The garnish is optional but adds a moment of visual brightness that makes the whole dessert feel intentional.
 Save to Pinterest
 There's a peculiar magic in watching someone cut into this tart for the first time—the filling holds its shape, the crust breaks with a satisfying snap, and the expression on their face is always the same surprised joy. That's when you know you've made something worth the small effort it took.
Why This Recipe Works
The balance between sweetness and acidity is what keeps this tart from feeling heavy or one-dimensional. Too many lemon desserts either make your mouth pucker or taste like you're eating a tablespoon of sugar with a hint of citrus, but this one splits the difference by using fresh juice, zest, and enough butter to round out the sharp edges. The custard-style filling also means it doesn't rely on whipped egg whites or other tricks to stay light, just good ingredients in the right proportions.
Timing and Make-Ahead Options
You can make the dough up to two days ahead, wrapped tightly in plastic in the refrigerator, and you can even partially bake the crust in the morning and fill it a few hours before guests arrive. The filled, baked tart holds beautifully for a full day in the refrigerator, which means you can assemble everything the day before and simply garnish and serve on the day of. This flexibility makes it perfect for entertaining when you're juggling multiple dishes.
Serving Suggestions and Pairing Ideas
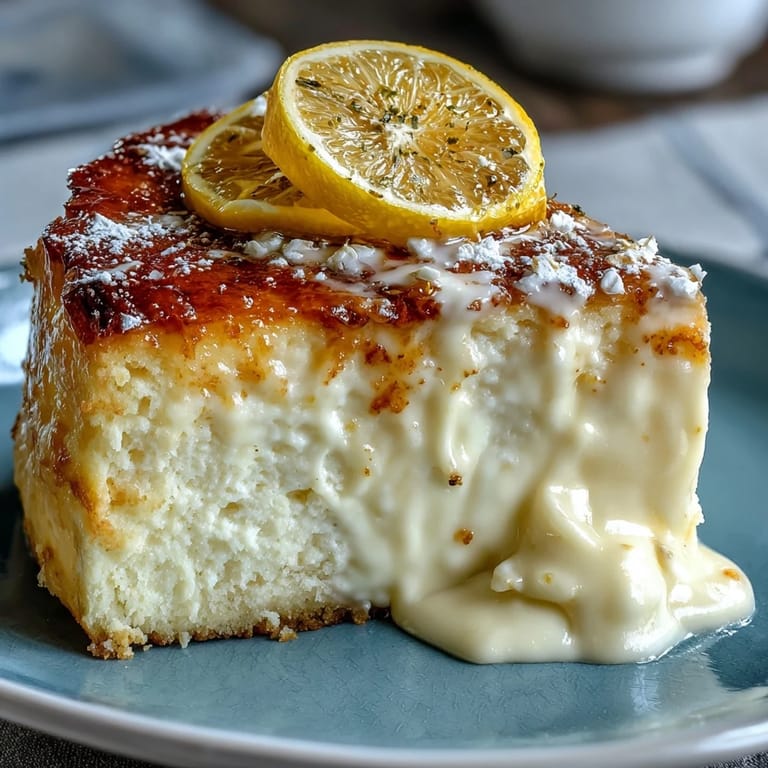
A small slice of this tart is the ideal finish to a spring or summer meal, especially when paired with something cold and slightly sweet like Sauternes or a dry sparkling wine. Crème fraîche or a tiny dollop of whipped cream adds a cool, tart note that plays beautifully with the bright filling, and a scatter of fresh mint or edible flowers transforms it from simple dessert into something that feels restaurant-quality.
- If you can't find fresh lemons or they seem sad and thin-skinned, use a combination of regular lemons and Meyer lemons, which are less acidic and slightly floral.
- A thin slice with a cup of Earl Grey tea on a quiet afternoon is genuinely one of life's small pleasures, and you don't need a dinner party as an excuse to make it.
- The tart keeps for up to three days in the refrigerator, so you can make it whenever the mood strikes and enjoy it in different contexts throughout the week.
 Save to Pinterest
 This tart has become my answer to almost every dessert occasion, and I hope it becomes part of your repertoire too. Make it once to learn it, make it twice to feel confident, and after that it becomes the kind of thing you can assemble in your sleep, which is exactly when cooking becomes genuinely joyful.
Recipe FAQs
- → How do I achieve a crisp, buttery crust?
Use cold unsalted butter cut into flour until it resembles coarse crumbs. Chill the dough before rolling and bake in stages for a golden finish.
- → What ensures a smooth lemon filling?
Whisk together eggs, yolks, sugar, lemon juice, zest, and melted butter thoroughly until smooth before baking gently to set without overcooking.
- → Can I prepare the tart ahead of time?
Yes, after baking, cool completely then chill for at least 2 hours to let flavors meld and texture firm up nicely.
- → What are good garnish options?
Light dusting of powdered sugar, thin lemon wheels, fresh berries, or mint leaves add an attractive and fresh finish.
- → Are there variations to the citrus used?
Try substituting some lemon juice with blood orange or lime for a unique twist on the classic bright flavor.
- → Is this suitable for vegetarians?
Yes, the tart contains eggs and dairy but no meat, fitting vegetarian dietary preferences.