 Save to Pinterest
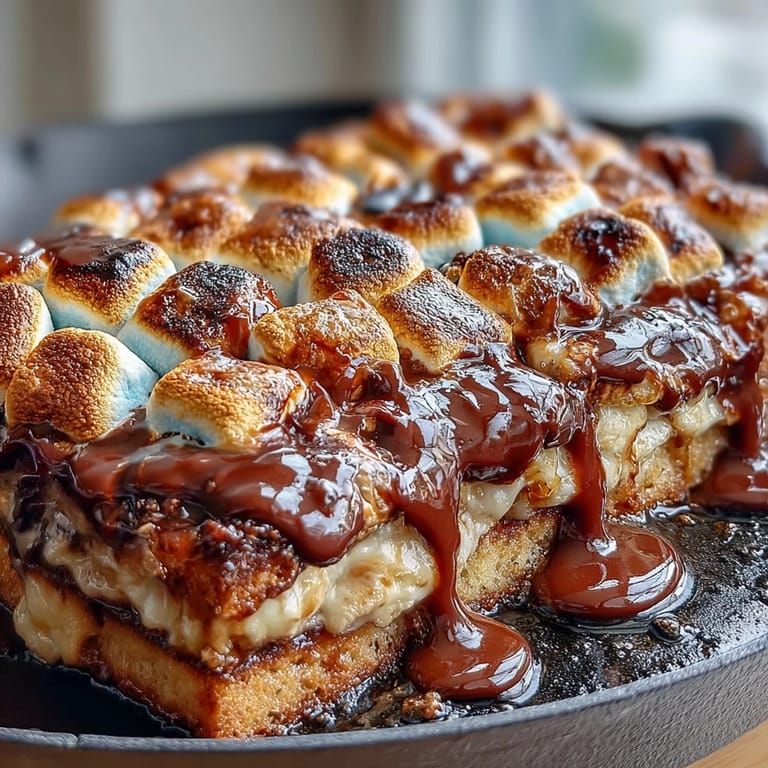
 My cousin showed up to our Fourth of July cookout with this cast iron skillet dessert, and I watched grown adults abandon their dignity fighting over the last spoonful. The chocolate was still warm, the marshmallows had that perfect charred-on-the-edges situation happening, and suddenly everyone forgot we were supposed to be watching fireworks. It became the thing people asked about before they even asked what we were grilling.
I made this last summer when my neighbors brought their kids over, and I learned something that day: marshmallows have a sound when they brown in the oven, a kind of quiet crackling that makes you peek through the oven window like you're watching something precious happen. The kids pressed their faces against the glass too, completely mesmerized, and that's when I realized this wasn't just a dessert—it was theater.
Ingredients
- Semi-sweet chocolate chips: Two cups gives you enough richness without being overwhelming, and the butter helps them melt into something silky instead of grainy—a lesson learned from one too many seized batches.
- Unsalted butter: Just a tablespoon keeps things smooth and stops the chocolate from seizing up if the oven runs hot.
- Large marshmallows: About three cups, and they need to cover the entire surface or you'll end up with sad chocolate patches showing through—trust me on this one.
- Graham crackers: Sixteen pieces broken into dipping-sized pieces, because whole crackers are awkward and people will break them anyway.
- Red, white, and blue chocolate candies: Optional, but they're your chance to make this feel festive without extra work.
- Fresh berries: Strawberries and blueberries add tartness that cuts through the sweetness and make people feel like they're eating something virtuous alongside pure indulgence.
Tired of Takeout? 🥡
Get 10 meals you can make faster than delivery arrives. Seriously.
One email. No spam. Unsubscribe anytime.
Instructions
- Get your skillet ready:
- Preheat the oven to 400°F while you grab your 10-inch cast iron skillet—this heat level is crucial because it toasts the marshmallows without turning them into charcoal.
- Melt the chocolate layer:
- Scatter the chocolate chips and butter into the cold skillet and let the oven do the work for 3 to 4 minutes; you'll know it's ready when the edges start looking glossy. Pull it out carefully, stir until the mixture is smooth and gorgeous, then set it aside for just a moment.
- Add the marshmallows:
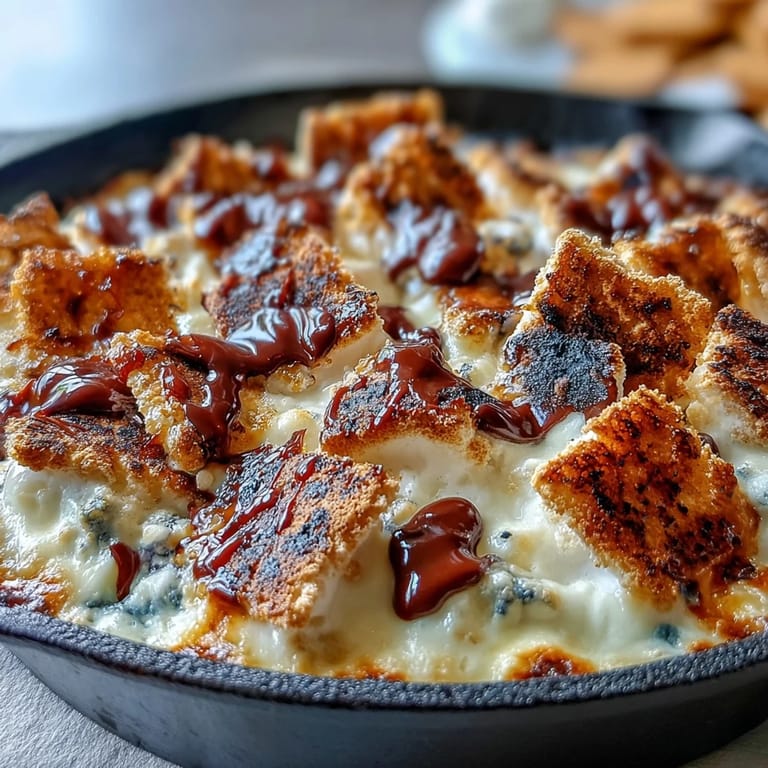
- Arrange them in a single layer over that warm chocolate, pushing them gently so they nestle in and cover every inch—gaps will turn into awkward bare spots. This is the moment where it actually starts to look like the finished dish.
- Toast until golden:
- Back into the oven for 5 to 7 minutes, watching through the window if you can because the transformation is genuinely beautiful; you want the tops golden brown with hints of deeper brown on the peaks. Remove with oven mitts because that skillet is dangerously hot.
- Finish and serve:
- If you're doing the colored candies, sprinkle them over the marshmallows while everything is still warm so they sink in slightly. Let it cool for 3 to 5 minutes—long enough to not burn your tongue but short enough that everything stays gooey and welcoming.
 Save to Pinterest
 There's something about melted chocolate in cast iron that makes people slow down. My sister actually put her phone away—voluntarily—to focus on the eating. That's when you know you've made something worth making.
The Cast Iron Advantage
Cast iron holds heat like nothing else, which means your chocolate stays melted and your marshmallows stay that perfect balance of warm and gooey for longer than you'd expect. The skillet also conducts heat so evenly that every marshmallow toasts at the same rate, no cold spots in the middle, no burnt corners. Plus, there's something primal about passing around a bubbling skillet that's impossible with a ceramic dish—it feels like communal eating in the best way.
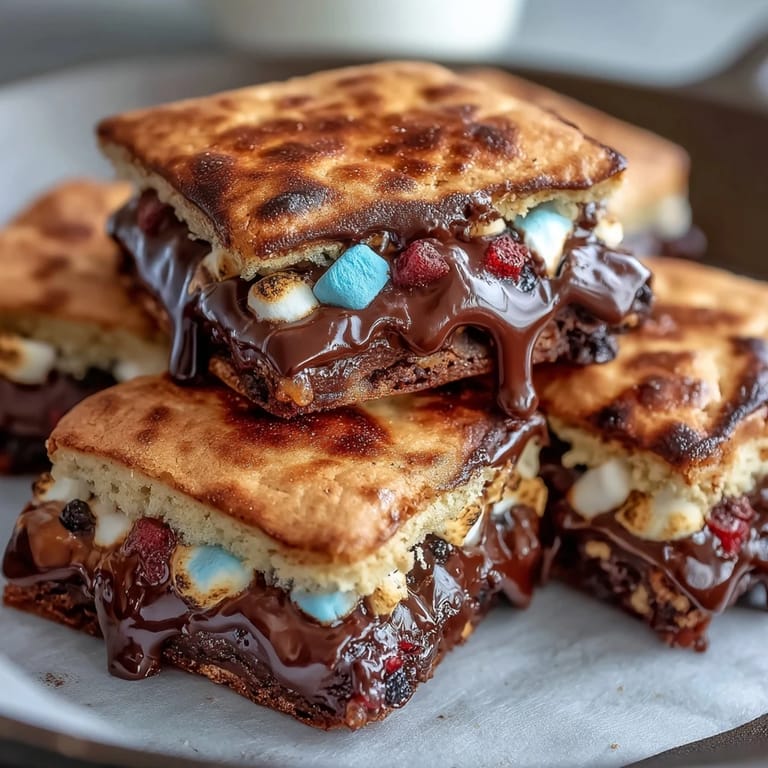
Dipping Strategies
Graham crackers are the obvious choice, but don't sleep on the strawberries and blueberries if you included them—that tartness against the sweetness is genuinely revelatory. Some people like to load their cracker with marshmallow, some want mostly chocolate, some get ambitious and try to grab both. The beauty of a skillet dip is that everyone can customize their spoonful without hurting anyone's feelings.
Make It Your Own
The base is straightforward, but you can absolutely play around with what makes it yours. Try a drizzle of peanut butter swirled into the chocolate before the marshmallows go on, or a pinch of sea salt scattered over top for complexity. If you want to lean into the holiday theme harder, search for patriotic-colored marshmallows or use red and blue sprinkles—kids go absolutely feral for this kind of detail, and honestly, so do adults.
- A sprinkle of fleur de sel over the marshmallows before toasting adds a subtle sophistication that guests always notice and always ask about.
- Keep oven mitts nearby and move decisively because a hot cast iron skillet is no joke and you'll want to get it on a trivet quickly.
- Make this right before serving because cooling causes hardening, and the magic is absolutely in that warm, stretchy texture.
 Save to Pinterest
 This is the kind of dessert that turns a regular July gathering into something people remember talking about in September. It's easy enough that you're not stressed, impressive enough that people think you tried, and delicious enough that it actually deserves the attention.
Recipe FAQs
- → What type of pan is used for this dish?
A 10-inch cast iron skillet is used for even heating and easy serving.
- → How long does it take to prepare?
Preparation and cooking together take about 20 minutes.
- → Can I add extra flavors?
Yes, drizzle sea salt or peanut butter over chocolate before adding marshmallows for more depth.
- → What toppings are included?
Toasted marshmallows, red/white/blue chocolate candies, and optional sliced strawberries and blueberries.
- → How should it be served?
Serve warm with graham crackers for dipping to enjoy gooey texture.